
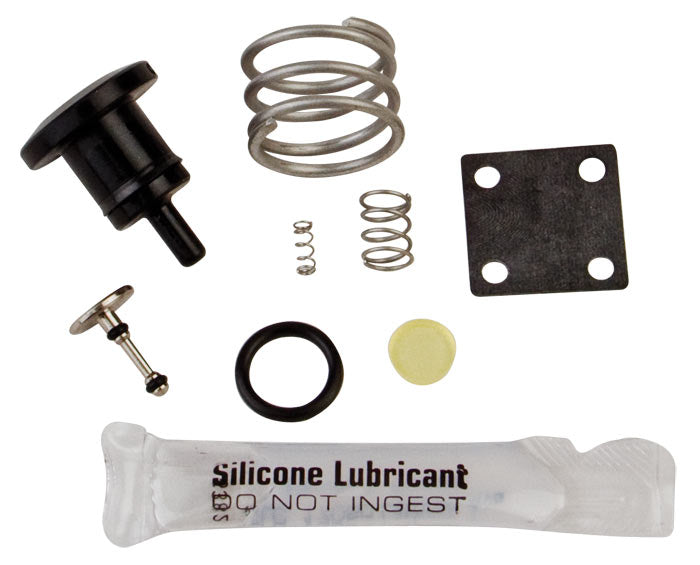

Repair kit for the A-dec ® style foot controls.
Product Details:
- Fits Models:300 Series(OEM Part #38.1821.00), 500 Series (OEM Part #38.1805.00), and Foot Control III Valve (OEM Part #38.0761.00)
- OEM Part #90.0593.00
- Includes: silicone lubricant, poppet, compression spring, foot control spring (.093 o.d.), foot control diaphragm (3/4"), foot control compression spring, o-rings, and piston.
Manufacturer Instructions (link):
- Turn off the master switch and bleed the system of any trapped air.
- Remove the screws from the base plate ro remove the retaining ring and foot control cover.
- Completely disassemble foot control valves, one at a time.
- Replace all parts included in the kit per the diagram (in the link above).
- Be sure to clean and lubricate all pistons and o-rings.
- Refer to the diagram to make sure all parts are properly located.
- Install the retaining ring, foot control cover, and check the function of the foot control. (WARNING: Failure to replace the foot control cover before checking the function of the foot control may result in injury.)